Armytek Viking Pro Magnet USB specifications
| Brand/model | Armytek Viking Pro (Magnet USB) |
|---|---|
| LED | CREE XHP50.2 |
| Lumens | 2050 Lumens |
| Beam intensity | 20,164 cd / 284m |
| Battery config. | 1*18650 |
| Material | Aluminum |
| Modes | 2 |
| Blinkies | 2 Strobes |
| Reflector | Smooth |
| Waterproof | IP68, 25 meters depth up to 5 hours |
| Review date | September 2021 |
Introduction:
“Tactical” has a bit of a stigma in the flashlight world. The word is thrown around by advertisers that market cheap zoomie clones as having 99999500 lumens. That’s not what we have here today though. When we talk about tactical flashlights what we really mean is flashlights that are suitable for use by professionals in the armed forces. That means things like having a tail switch that predictably goes to a high mode, being waterproof, impact-proof (usually meaning a steel bezel), and easy to use with one hand with gloves on. It also normally means a standard 1” diameter to fit a gun mount and being able to withstand recoil when shooting a gun. Many tactical lights are compatible with remote switches too.
Although tactical lights are second nature to Armytek, the Viking Pro is the first tactical light we’ve reviewed from them, aside from the Dobermann Pro that I’m reviewing at the same time. All the other lights have been their multi-function headlights.
This is the new generation of Viking flashlights from Armytek. Previously they didn’t have magnetic USB charging and Armytek also had a non-Pro version of the Viking, with XP-L LED, which isn’t as bright but throws a bit further.
Armytek also has 2 other similar lights, both with XHP35 HI LEDs that aren’t as bright but throw further. These are the Predator Pro with the same size head and the Dobermann Pro with smaller head that I’m also reviewing.
I’m no armed forces expert but I’m pretty sure a flashlight failing on you when out in the field would be a bad thing. Flashlights need to be very high quality to be used in these conditions. With “Pro” in the name I’m expecting this to be one of the highest quality lights I’ve seen. Let’s see how it measures up.
Package quality.
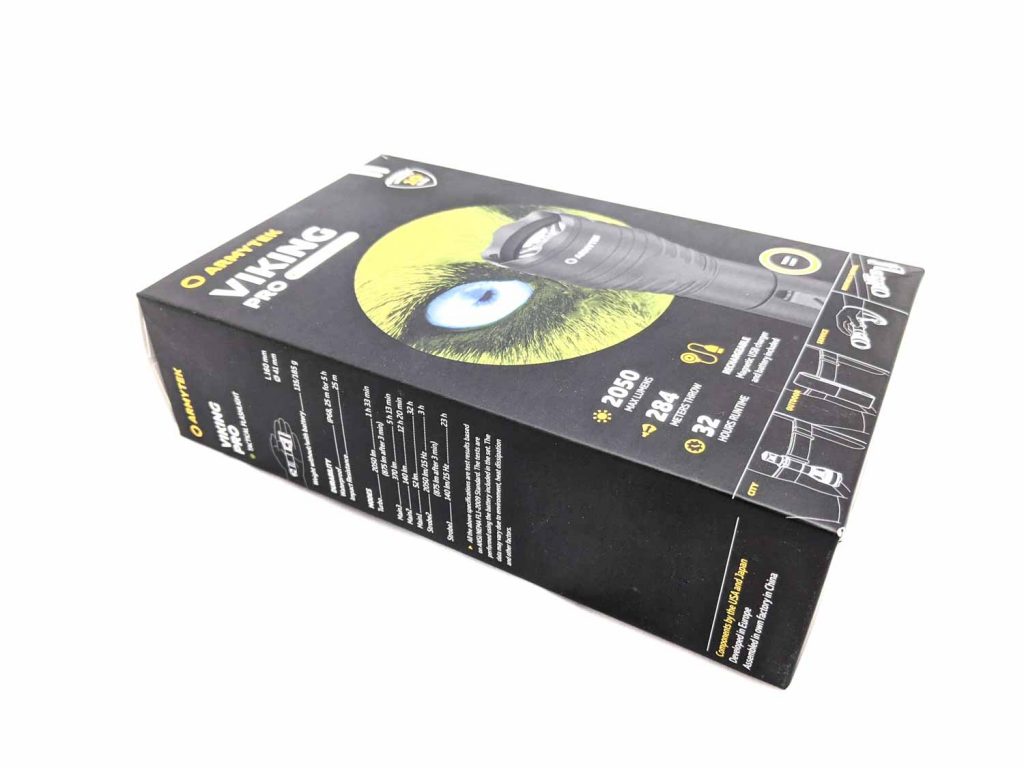
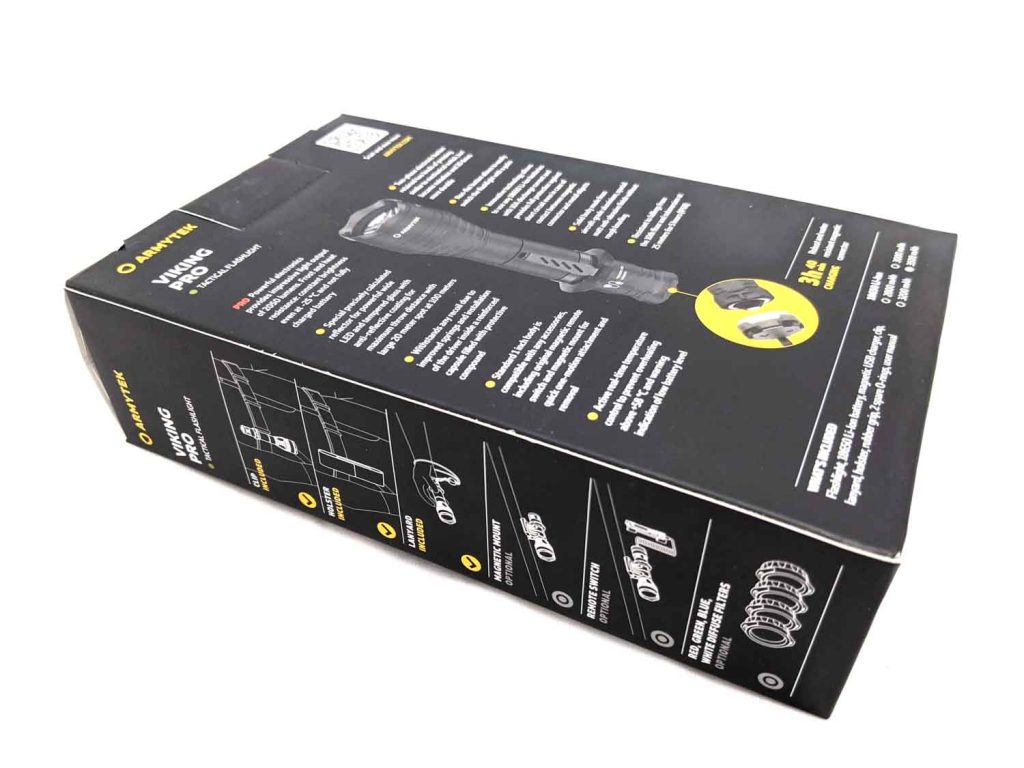
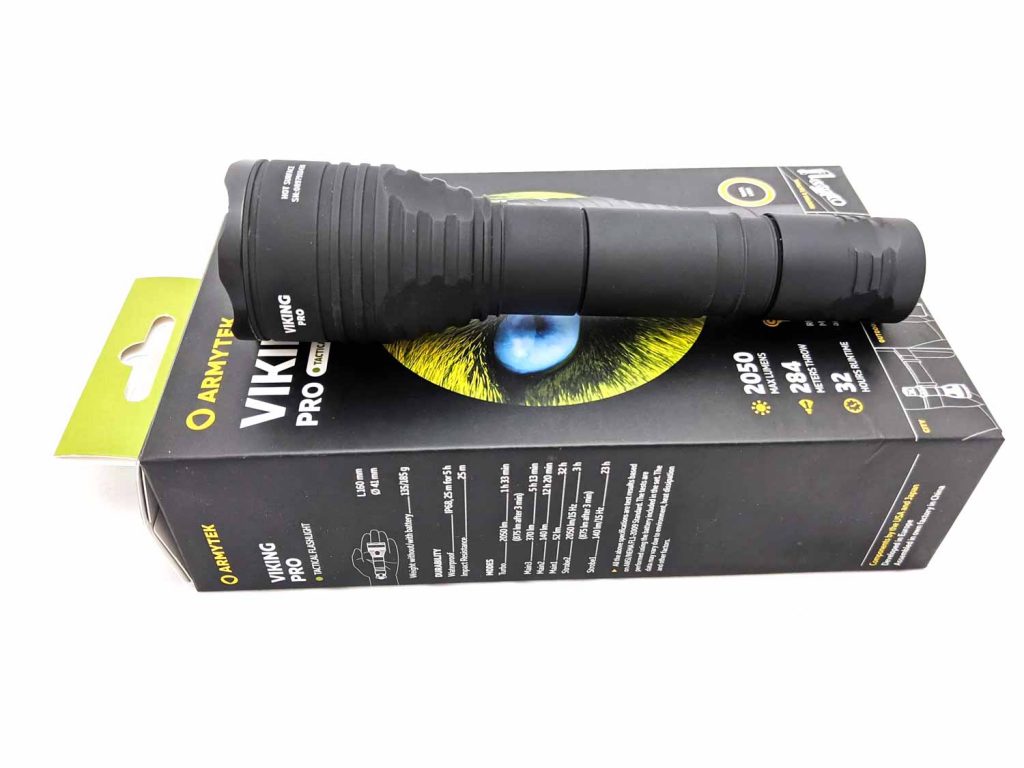
Armytek’s flashlights come in a fairly standard cardboard box. This is printed with all the specs, details of the warranty, and handy diagrams of how to use it.
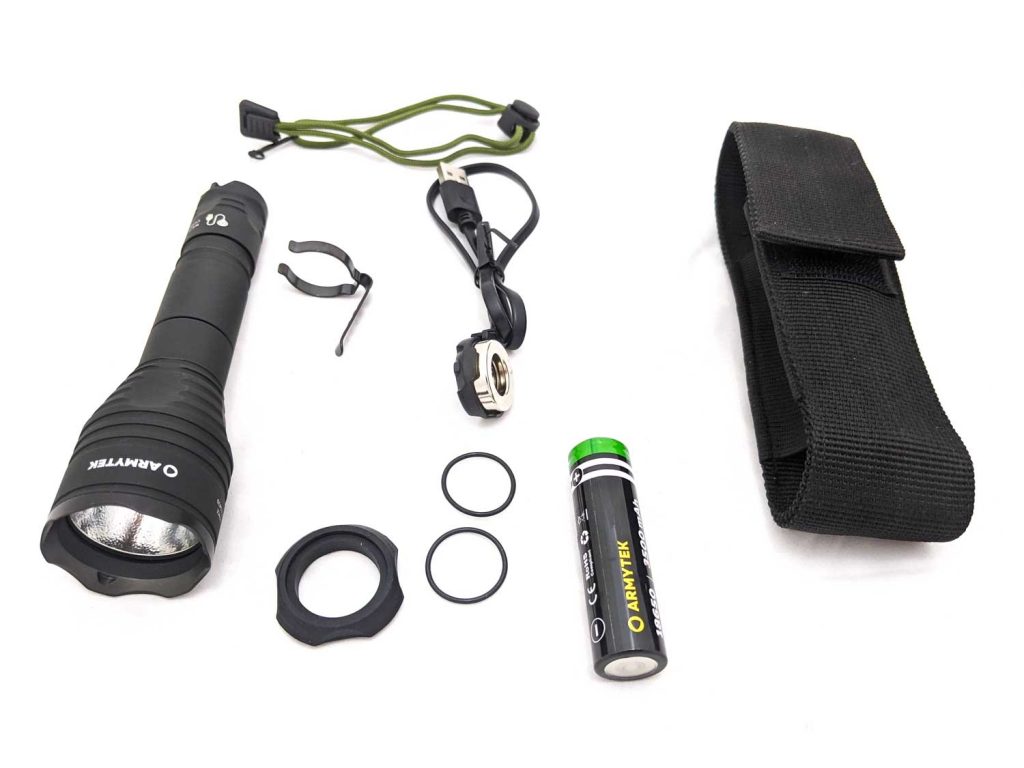
In the package you’ll find:
- Armytek Viking Pro
- 18650 cell
- Manual
- Magnetic USB charger
- 2 spare O-rings
- Steel pocket clip
- Cigar grip ring
- Nylon belt holster
- Lanyard
The packaging shows the following items as optional:
- Magnetic mount
- Remote switch
- Red, green, blue and white diffuse filters
Flashlight in use
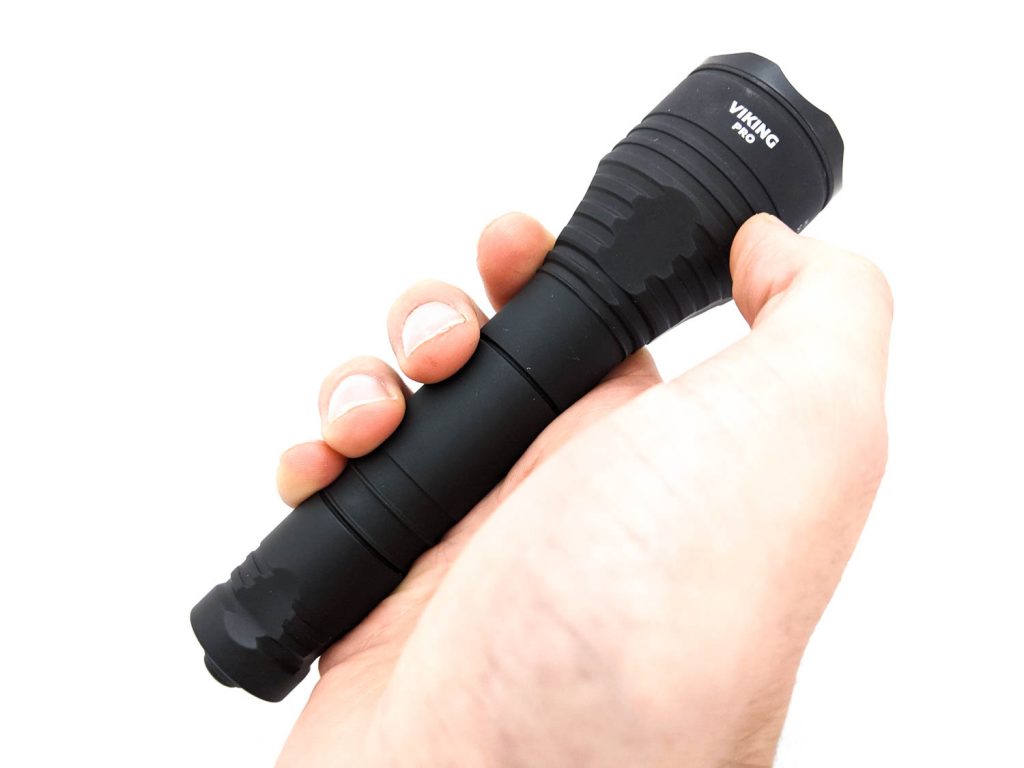
The Viking Pro isn’t huge but it’s pretty big for a flashlight that takes a single 18650 cell.
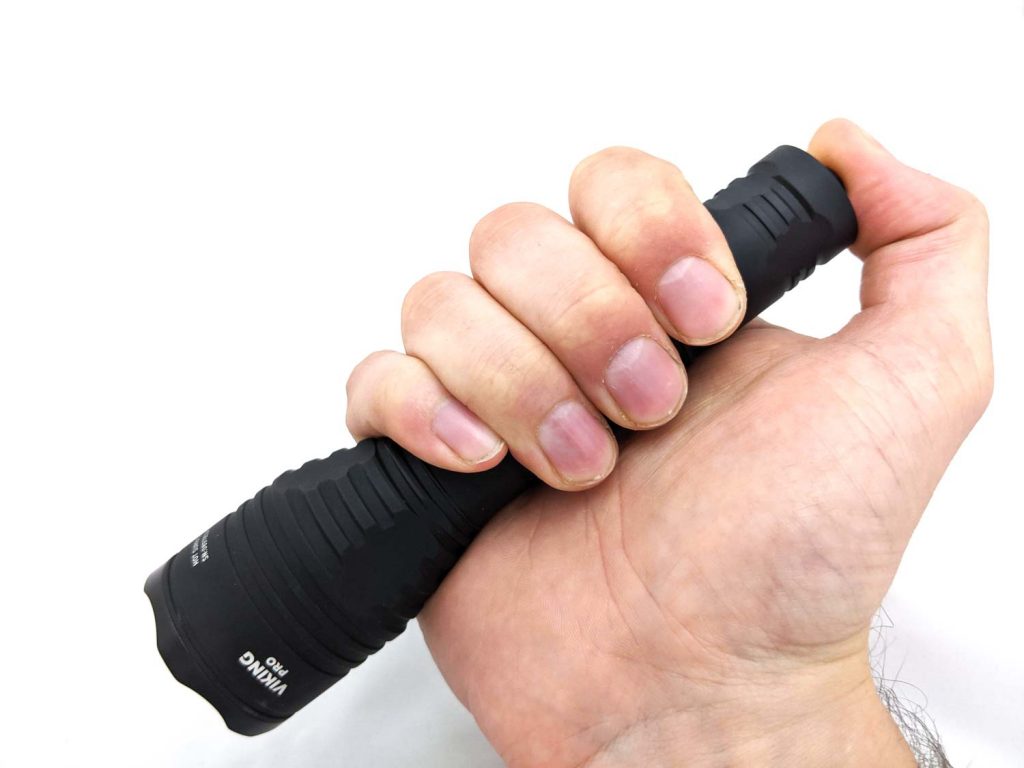
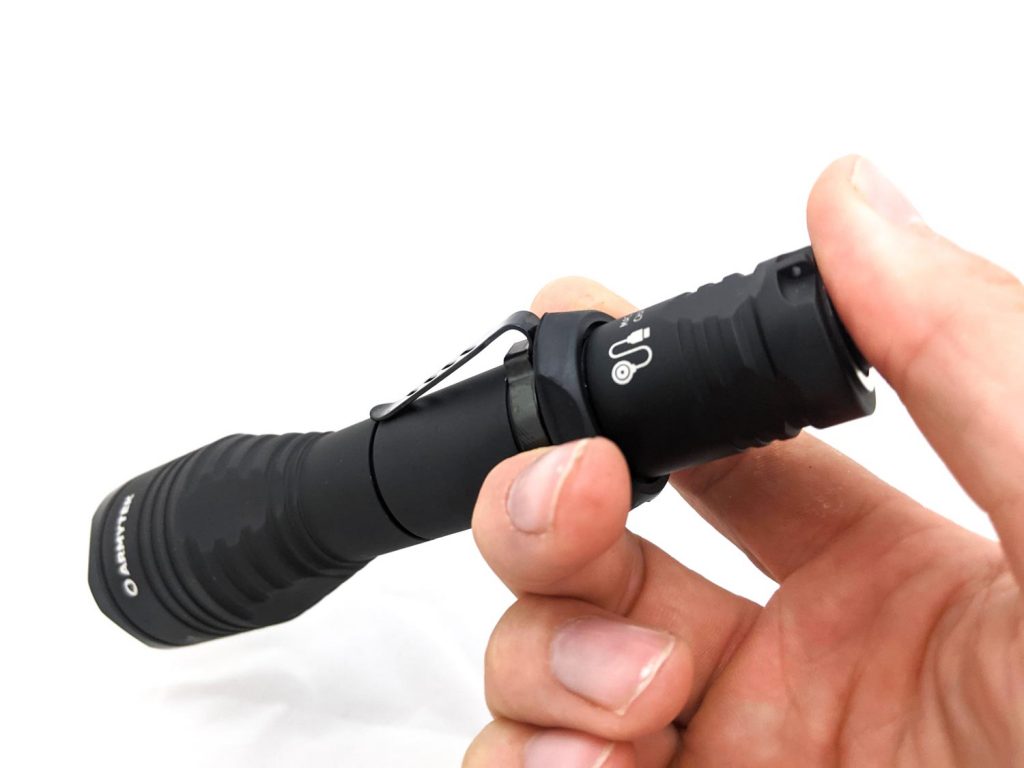
Armytek doesn’t use knurling for grip on lots of their lights. Instead, they have a very nice matte anodisation that provides pretty good grip. As the light has a 1” diameter body you shouldn’t have any issues gripping it.
With the cigar grip on, the light is easy to hold with 2 fingers either side of the body tube and a thumb resting on the switch.
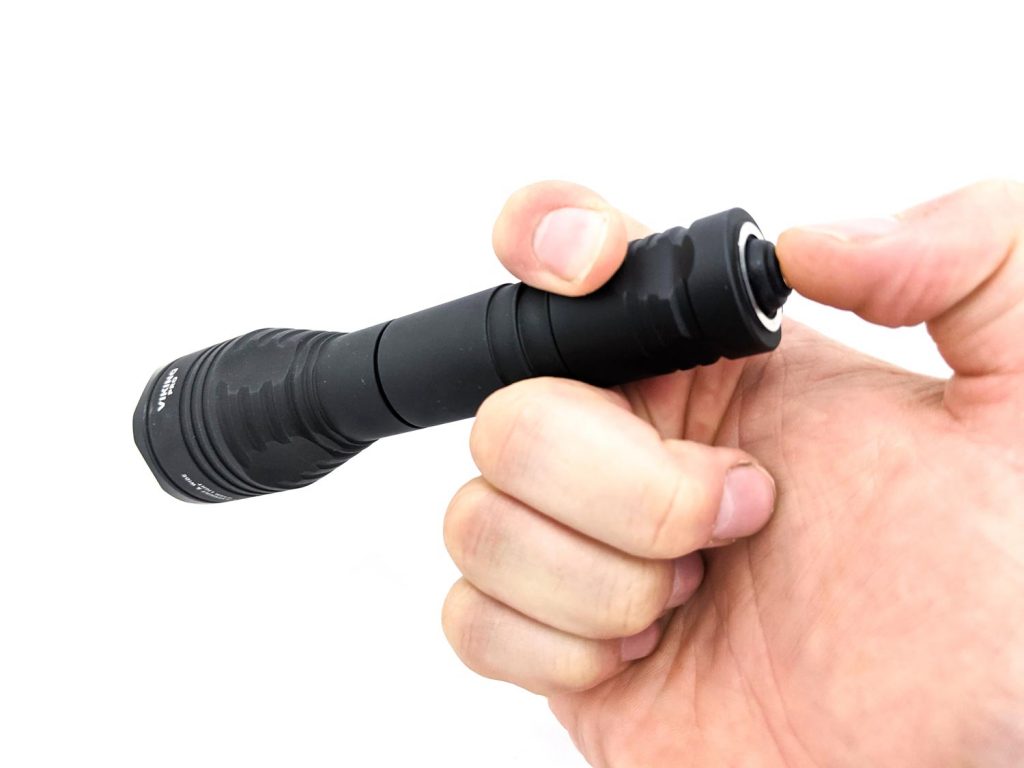
The tail switch is a 2 stage e-switch that you can press lightly or press fully for a quiet click. It looks just like a forward-clicky mechanical switch and it acts the same too. The only way you can tell it’s an e-switch is because if you disconnect power when the light’s on then it will stay off when you connect power again. How has Armytek done this? I’m sure someone cleverer than me can explain it but as far as I’m concerned it’s magic.
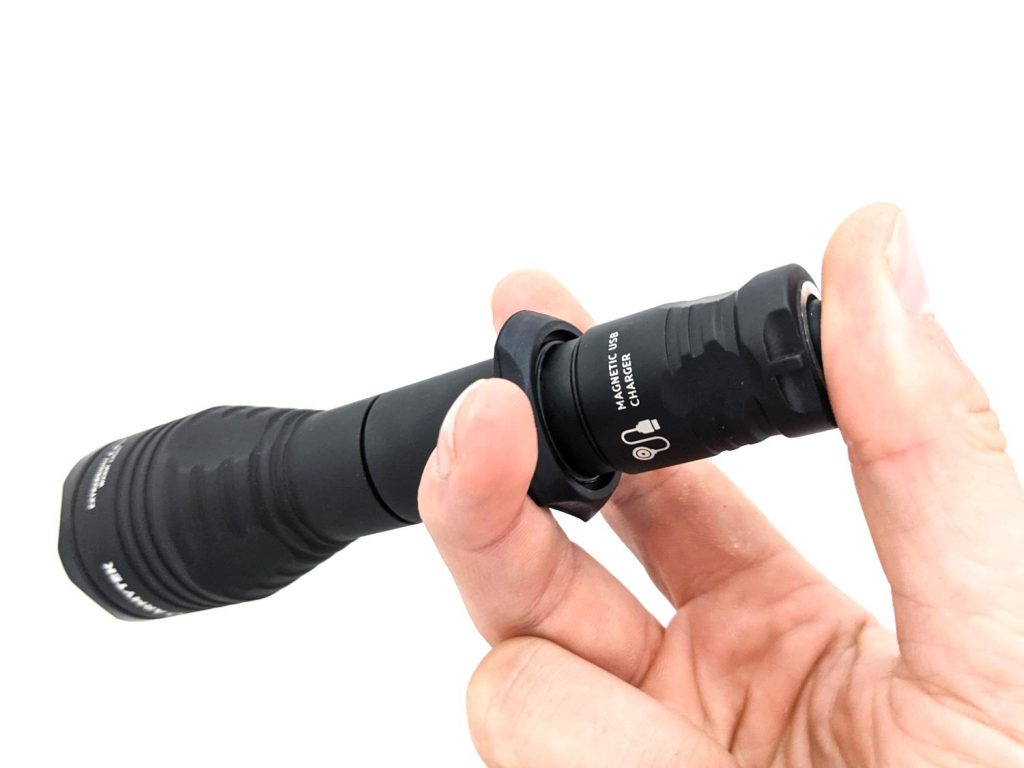
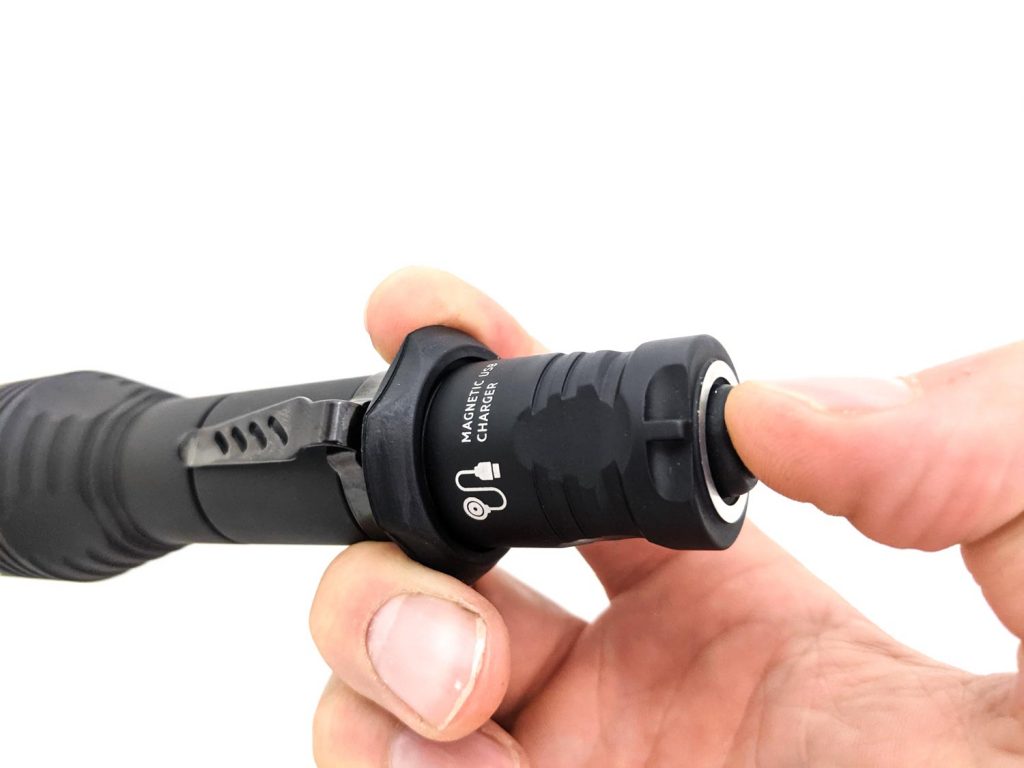
The fancy tail switch is mainly rubber but includes a metal bump with a ring around it. These are slightly magnetic and allow the magnetic USB charging cable to align right into place. I’m a bit concerned by these 2 exposed bits of metal as they will connect to the positive and negative of the battery. This is great for reviewers, as it means the cell voltage can be measured without removing the cell! You won’t short the 2 bits of metal with something flat like a metal sheet but something like a key could short them. Armytek states there’s full protection against short circuit but with the dangers of lithium cells that’s not something I’m willing to test. This switch design also means the light won’t tail stand – unless it’s standing on the magnetic base. Another thing about the switch: you can activate it with your palm or by pressing the light down on a flat surface.
The clip is short and very strong. It’ll stay attached to a belt very well but it’s not the kind of deep carry clip for EDC. The clip (and the cigar grip) also stops the light from rolling around.
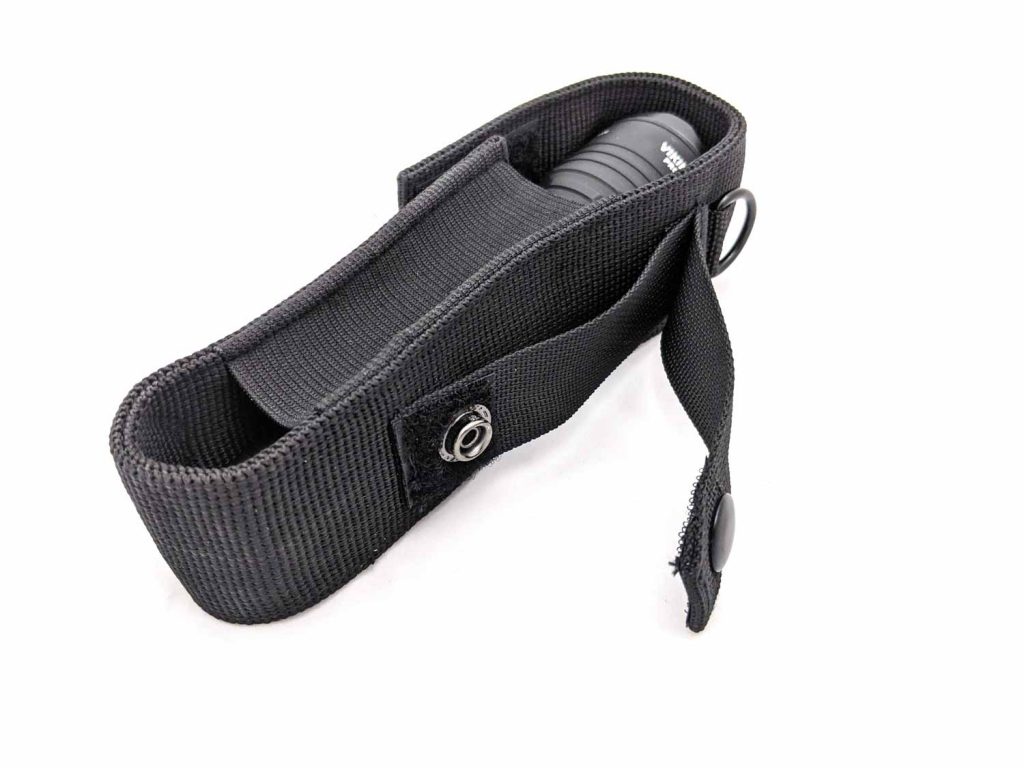
The holster can be attached to a belt without taking it off and includes a D-ring so you could clip it on to a bag. I was a bit concerned about the switch being activated when in the holster but in reality, this isn’t an issue at all.
Build Quality, and Warranty
No knurling, as mentioned, but the thick matte aluminium anodisation makes up for it.
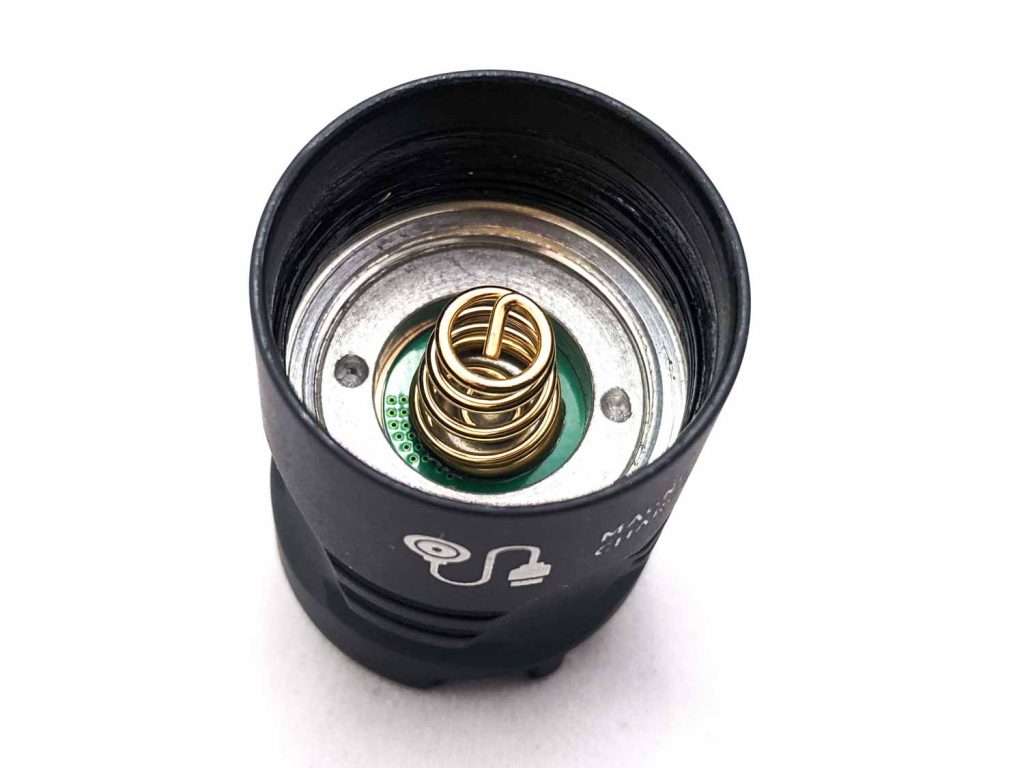
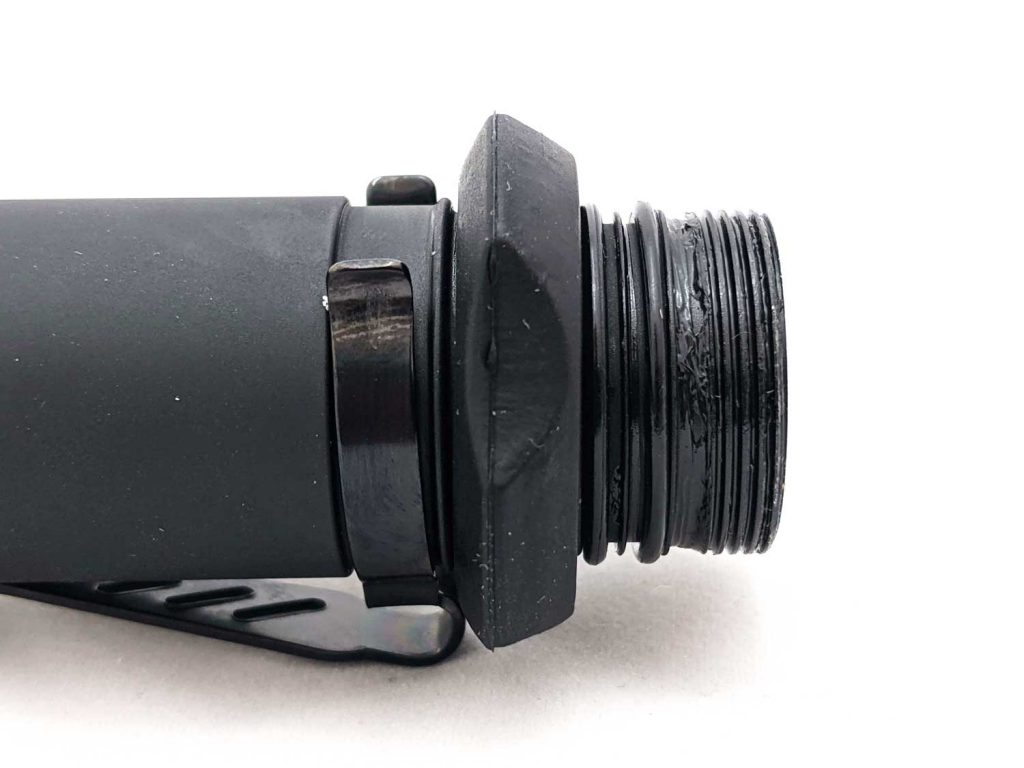
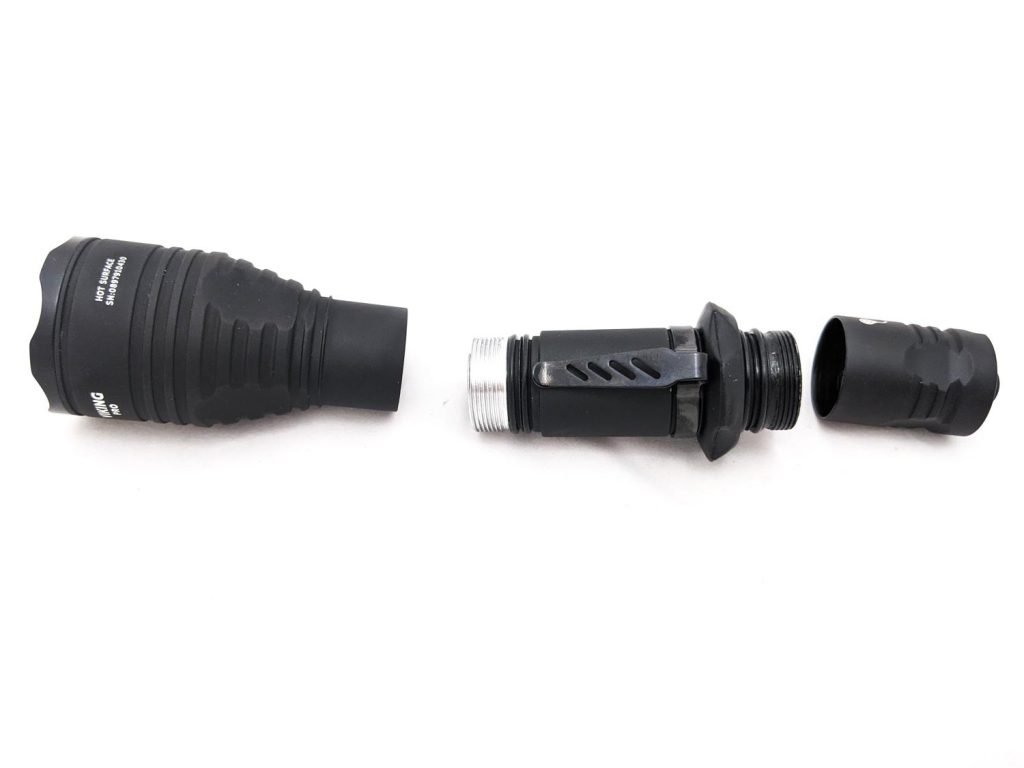
About 6 rotations and the tail removes from the body, revealing not 1 but 2 o-rings. This would be overkill for most lights but Armytek is all about durability and this helps with the IP68 “25m for 5 hours” water resistance. The square cut threads are very well lubed and fairly smooth.
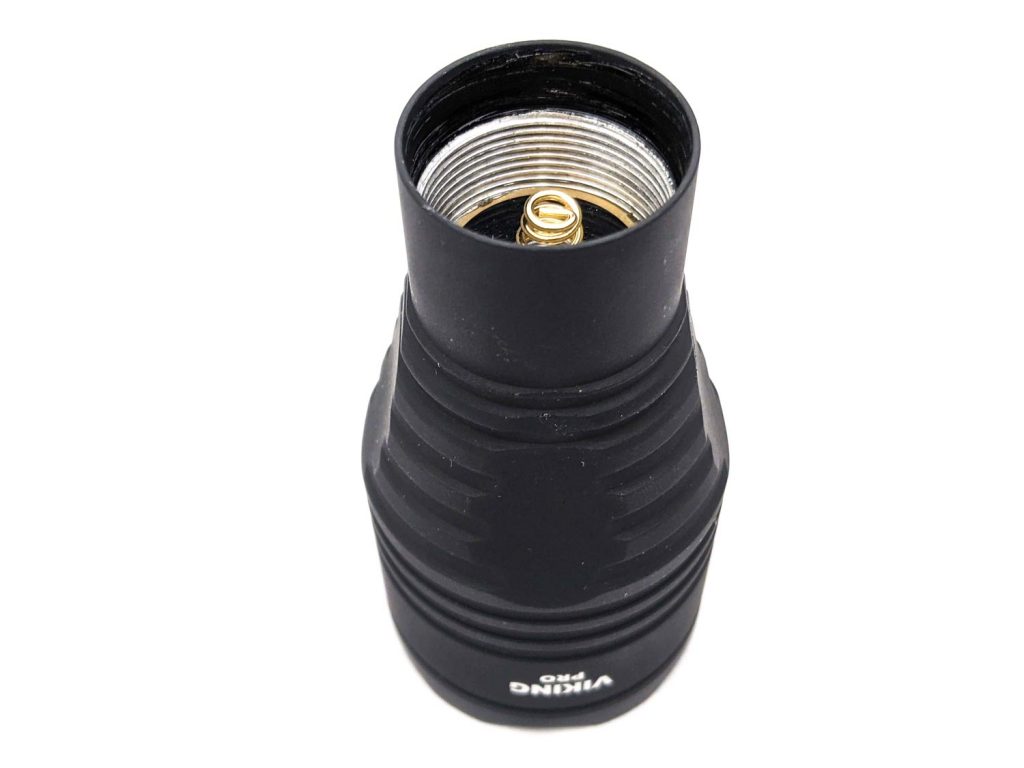
You can also unscrew the head from the body. 2 o-rings again but these threads aren’t anodised. All the springs are fairly thick and take some force to compress.
No complaints at all on the build quality side of things: Armytek has obviously built a very robust light here. The manual implies that the driver is potted and reinforced. I wouldn’t be surprised if you could drop it from a skyscraper, take it scuba diving, then drive over it in a tank and still use it overnight as a weapon light.
Warranty: 10-year warranty for the flashlight. 2 years for batteries, chargers, switches and connectors.
LED, Lens, Bezel, and Reflector
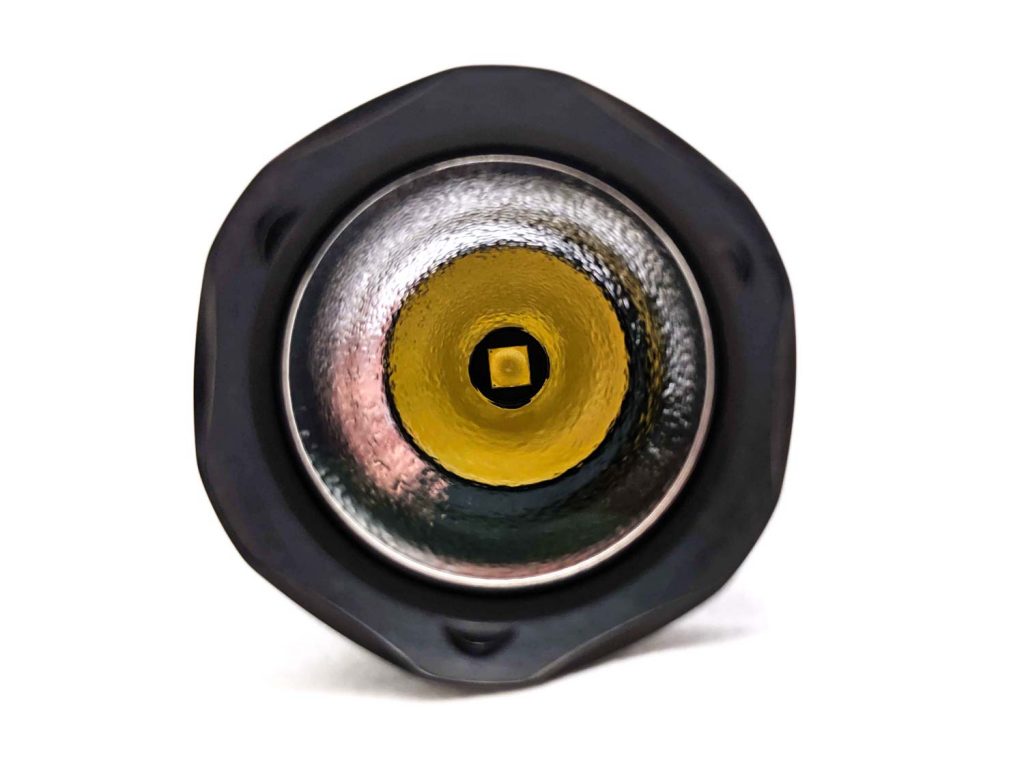
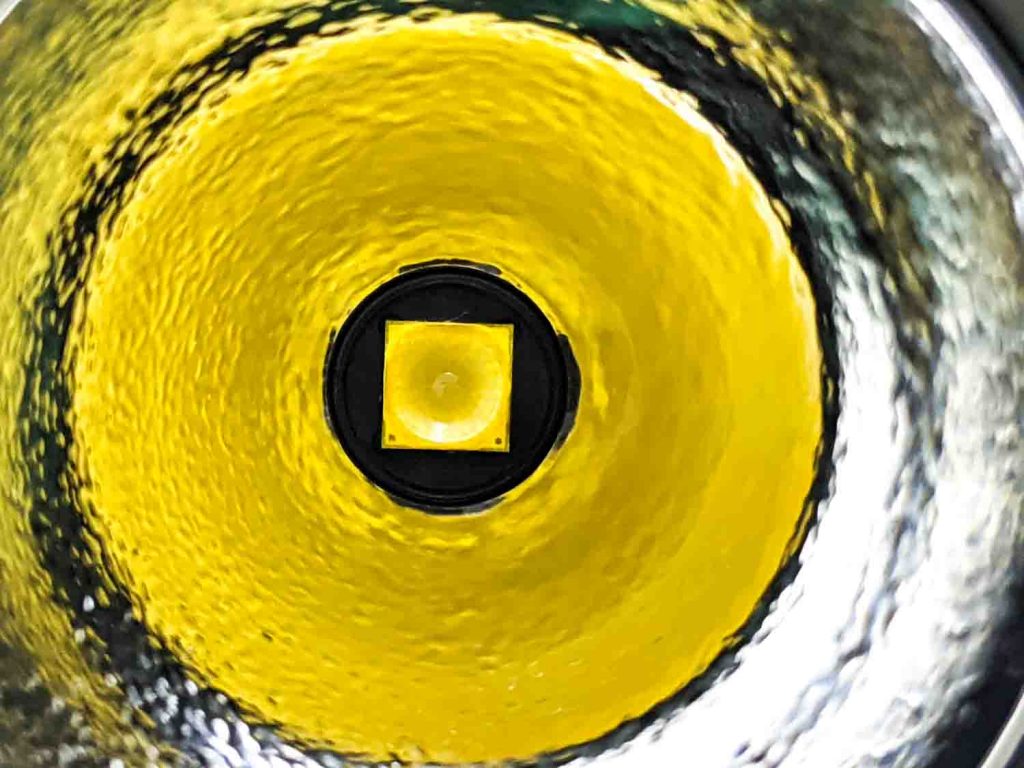
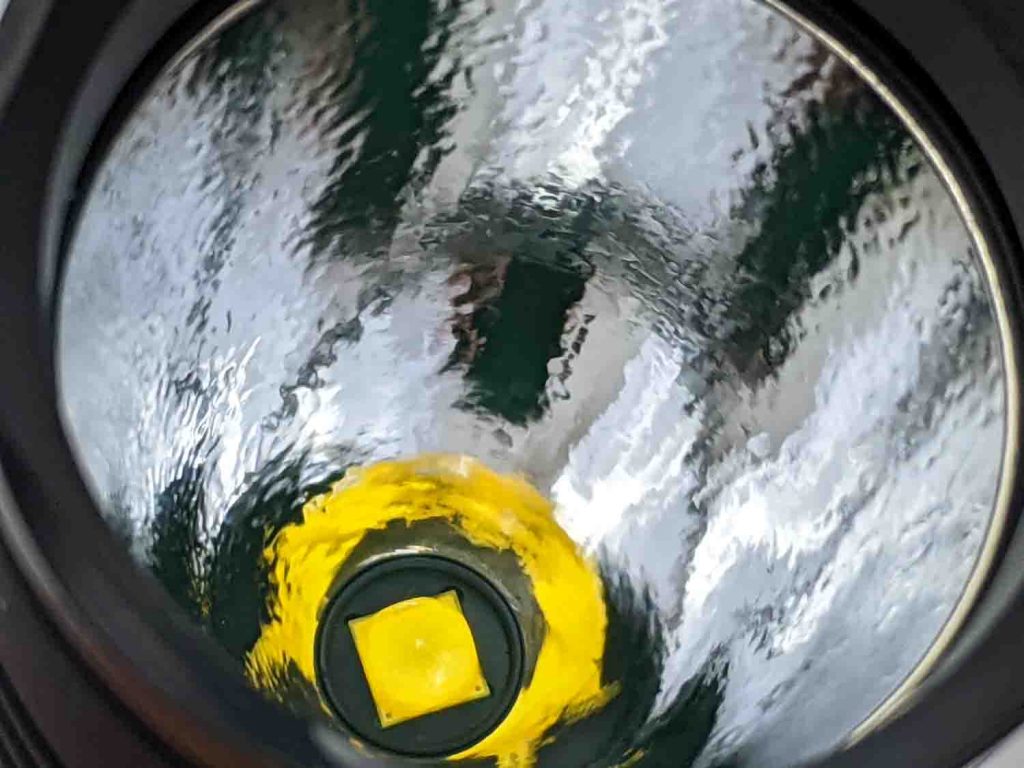
The Viking Pro used to come with XP-L or XHP50 LED. It now comes with a second generation XHP50.2 for a few more lumens. Like most Armytek flashlights, you can buy the Viking Pro in “warm” or “white”. I picked warm, which seems to be somewhere between 4000K and 5000K. This tells me that they’ve used a 6-12V LED, as the XHP50.2 doesn’t come in a 3V version with warm CCTs.
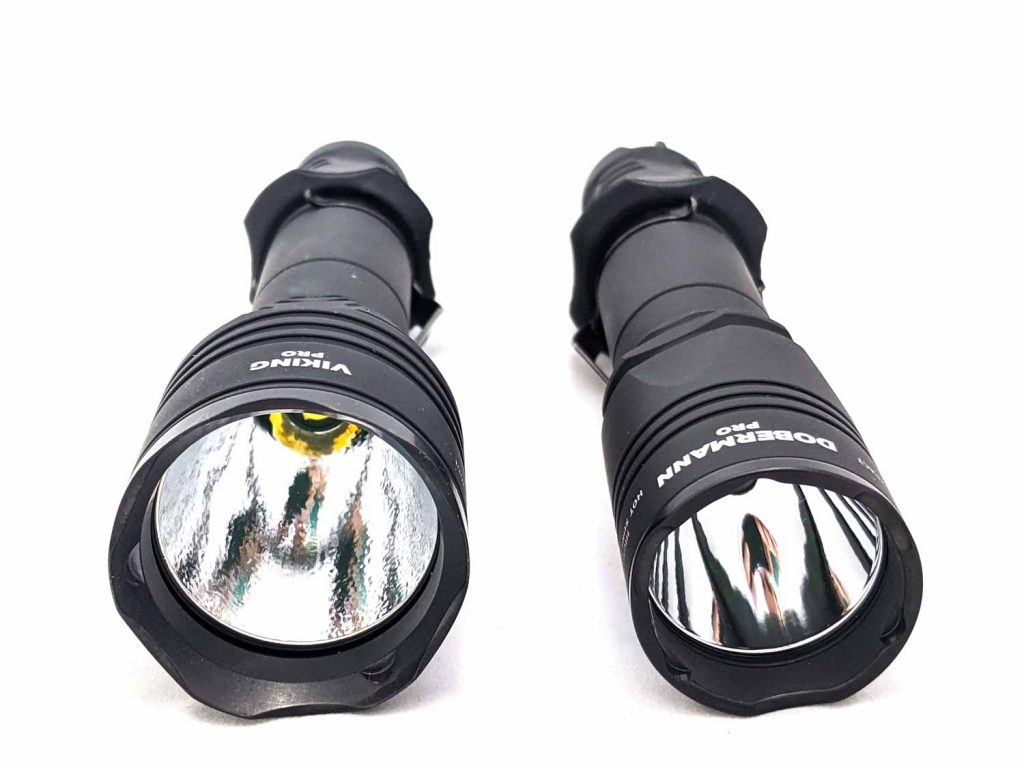
CREEs XHP series of lights are known for their tint rainbow. The orange peel reflector helps a bit here but unfortunately the “CREE rainbow” is definitely noticeable on a white wall. Not the biggest problem for tactical use but it would put me off using it indoors.
Above the reflector is a tempered glass lens with anti-reflective coating. The bezel above it is steel with a titanium coating and has light crenelations. The coating is matte black for stealth. It’s not especially sharp but you could probably do some damage with it if you tried.
Armytek describes the Viking Pro’s beam as “20 meter spot at 100m”. This means 9.8 cd/lm so while it’s not a thrower, it’s on the throwy end of tactical lights.
Dimensions and size comparison
- Length: 16.0cm / inches
- Head diameter: 4.10cm / 1.61 in
- Body diameter: 2.54cm / 1.00 in
Weight:
- Without cells: 141g / 5.0oz
- With cells: 191g / 6.7oz
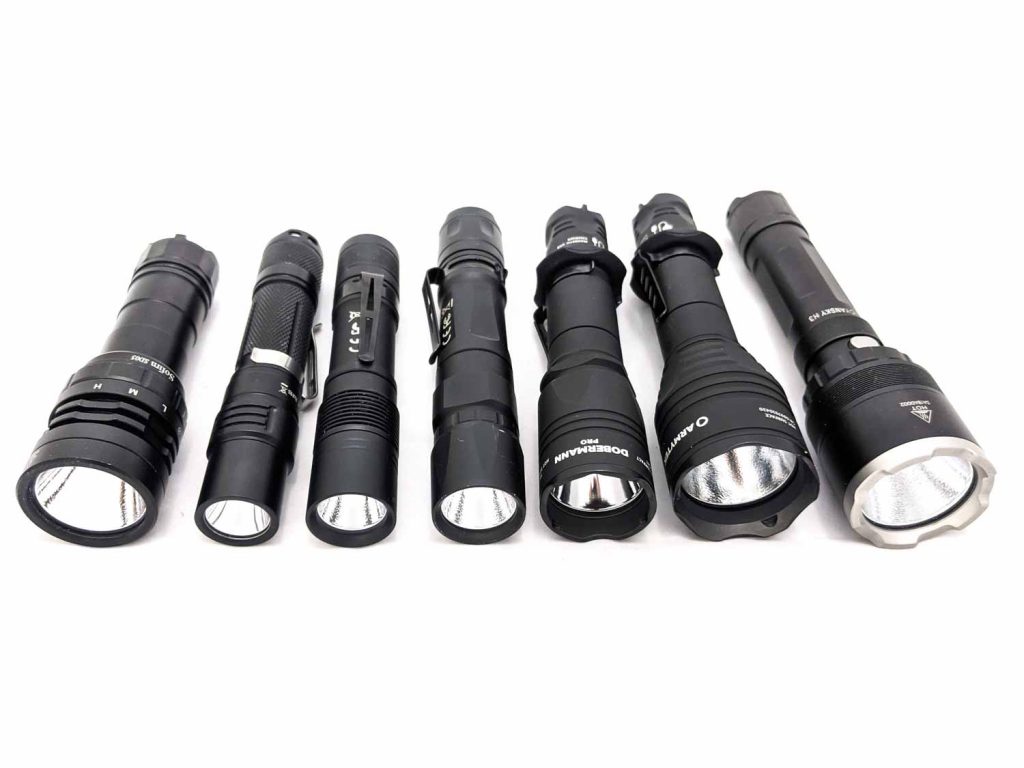
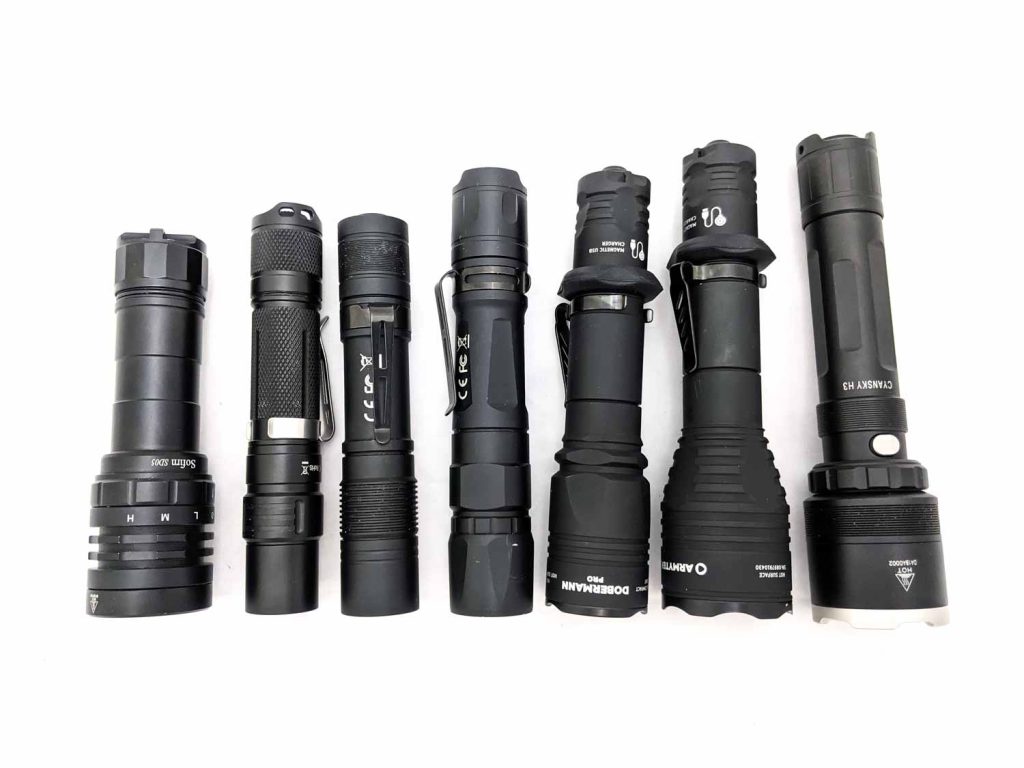
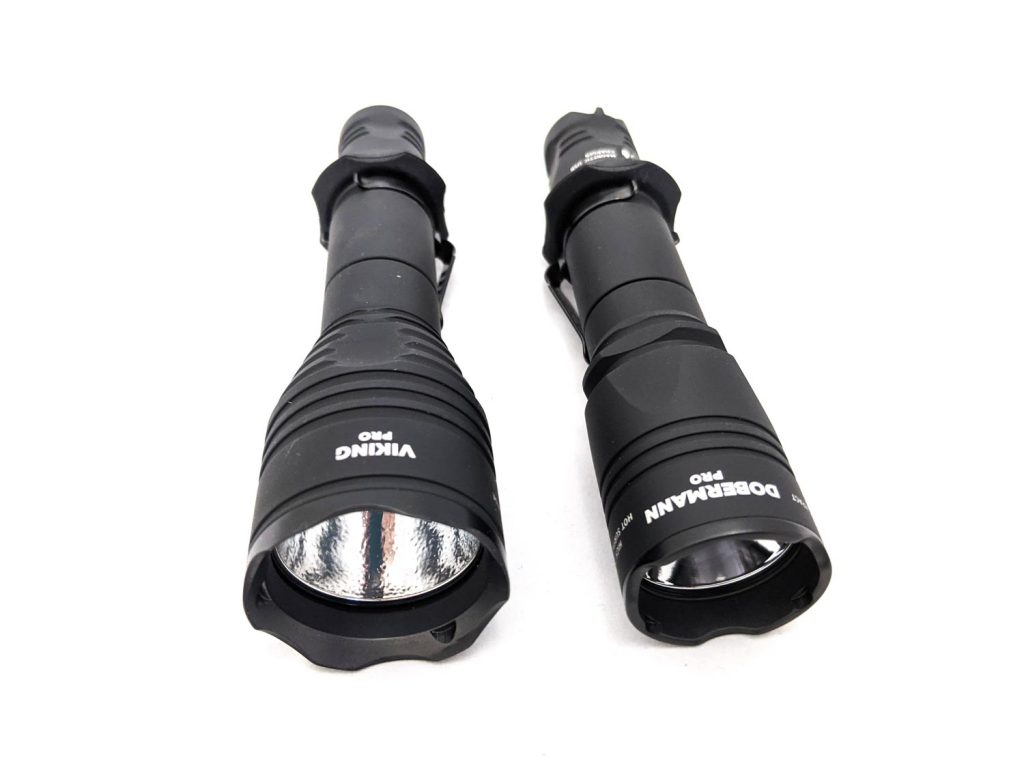
Tactical flashlight comparison
From left to right:
- Sofirn SD05
- Sofirn SP31
- Cyansky P20
- Cyansky P25
- Armytek Dobermann Pro
- Armytek Viking Pro
- Cyansky H3
Armytek flashlights:
- Armytek Dobermann Pro
- Armytek Viking Pro
Driver & User Interface
Here’s the UI: Press lightly for momentary on, click to turn on/off. Always turbo.
For a tactical light this is perfect. You can click or hold the e-switch in all sorts of combinations and you’ll never get anything other than turbo. No accidental activation of a moonlight mode or triggering of something like Anduril’s fun lightning mode.
That’s the basics and if you don’t read the manual then you might think the Armytek is a single mode flashlight. But it has a few tricks up its sleeve…
Changing modes (“hunting type”)
As well as the 2-stage e-switch, Armytek has created a way to activate the other 3 brightnesses and strobe modes. Have you figured it out yet?
Loosen the head and body slightly and the light will enter the memorised mode Main1/Main2/Main3 (or low, medium and high). Anything from 10° to 3 whole revolutions works but Armytek recommends 1/8th of a turn. This works due to the head-end of the body tube not being anodised and the cell-size of the driver having a separate negative contact. The driver knows whether 1 or 2 contacts are making a circuit so can use this like a secondary switch. Thanks to the 2 o-rings and only needing a slight twist, I don’t think any water or dirt would get into the light when loosened.
When loosened, you can use the same e-switch in momentary or normal on/off modes. Turning the e-switch off and then back on within 2 seconds will cycle between Main1/Main2/Main3.
Tightening at any time will bring the light back to turbo.
Add/remove strobe
Strobe isn’t in the main mode group by default. To toggle whether strobe is enabled, loosen, then tap the e-switch 20 times. This will make the light cycle Main1/Main2/Main3/Strobe2. This strobe is the same brightness as Turbo.
“Tactical type”
As well as the default hunting UI, Armytek has a tactical type UI. To switch between the 2 UIs, turn the light on, then loosen and tighten quickly 10 times. The tactical type UI is like nothing I’ve seen before but after using it a bit it makes sense.
The e-switch still turns on and off but you can cycle between Turbo and Main2 (medium) with a quick loosen-tighten action. This brightness is then memorized.
Leaving it loosened (or turning it on when already loosened) will activate the strobe modes. Here, a quick tighten-loosen action will switch between Strobe1 (medium brightness) and Strobe2 (turbo brightness).
UI summary
Press or click for turbo. In hunting type UI, loosen for lower modes and tap to change brightness. In tactical type UI, loosen for strobe, tighten for constant on and do a quick twist and back to change brightness.
Available modes: Main1, Main2, Main3, Strobe1, Strobe2, Turbo
From OFF:
- Press and Hold: Turbo
- Single click: Turbo
From ON:
- Single click: Off
Mode memory:
- Yes, kind of
Low voltage warning:
- Yes, the light will turn off at 2.86V
Strobe/blinkies
- 15Hz at medium or turbo modes
Lock-out mode:
- No electronic lockout but you can twist the tail cap (not the head end) to physically lock out
PWM
- None detected
Batteries & Charging
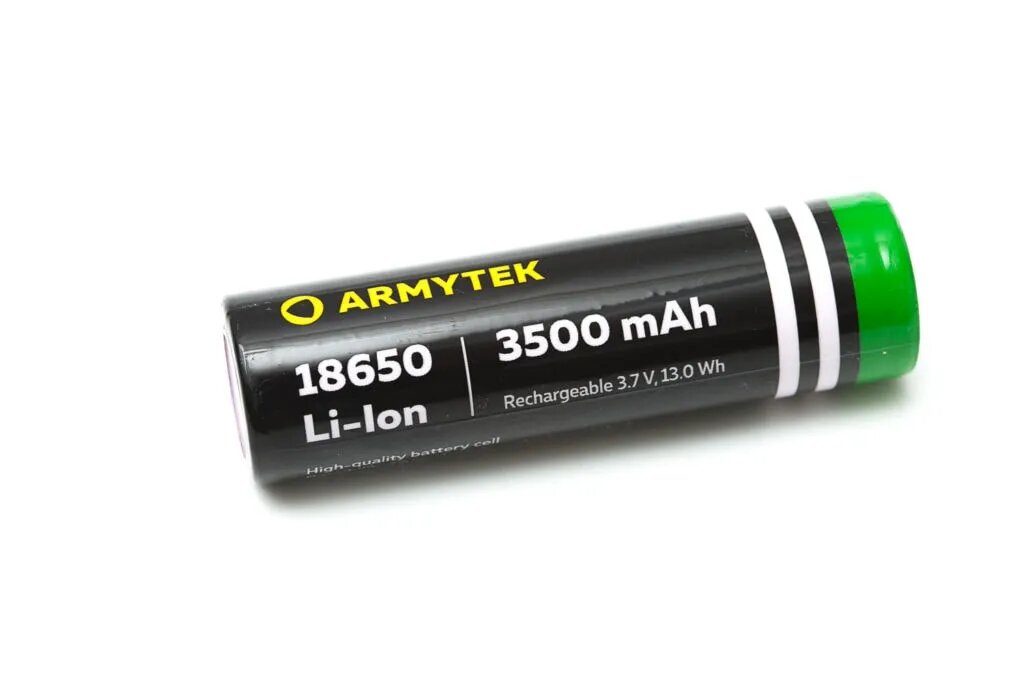
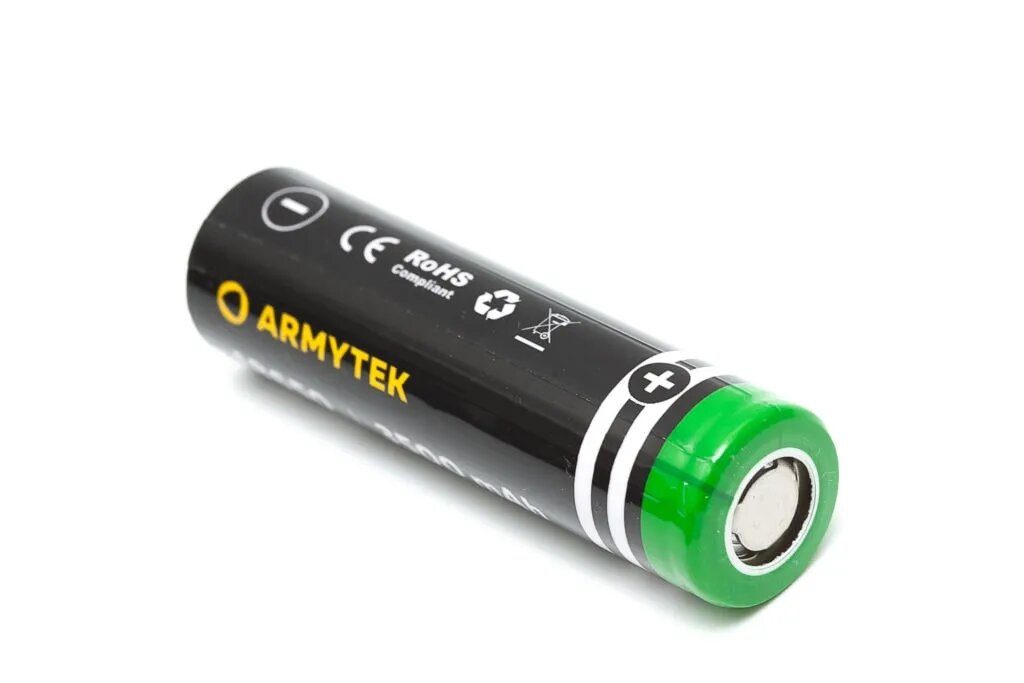
Armytek provides a 3500mAh flat top cell with the light. Button tops worked fine too but a much longer cell with an integrated charging circuit felt like it was compressing the springs. Most cells should be fine there, as long as they can take 10A or so. The flashlight has built-in low voltage protection, so unprotected cells are good.
On to the charging then. Plugging in the USB charger will show a green indicator light. When connecting the indicator will flash green then go solid red. When charging from 2.86V I was only getting 0.1A from the charging. As soon as it hit around 3V it picked up pace to a much more reasonable 1.2A, charging the 3500mAh cell in around 4 hours. Charging via USB stops at a slightly conservative 4.15V.
Performance
Lumen measurements (for each mode)
Lux meter: All lux and lumen measurements are from my home made integrating sphere, calibrated with a S2+ measured by Maukka. Measurements are done with a UNI-T UT383S lux meter and Adafruit TSL2591 connected to a Raspberry Pi (using RuTiTe by bmengineer). Expect them to be within +/-10%.
Current: there wasn’t any current going through the tail cap, so I couldn’t measure anything.
Cell: I used Armytek’s provided 3500mAh cell, charged to 4.15V.
| Mode | Specs | Lumens @ start | Lumens @30 sec | Lumens @10min |
|---|---|---|---|---|
| Main1 | 52 | 55 | 55 | |
| Main2 | 140 | 141 | 141 | 144 |
| Main3 | 370 | 355 | 355 | 348 |
| Turbo | 2050 | 1999 lm | 1958 lumens | 774 lm |
Lumens were within 3 or 4% of specs, which is always good to see.
Runtime graph
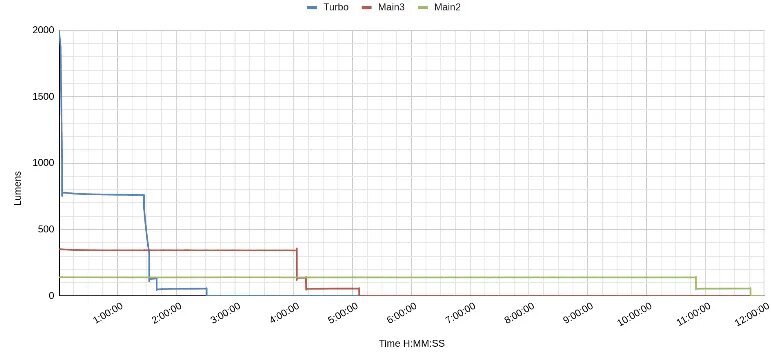
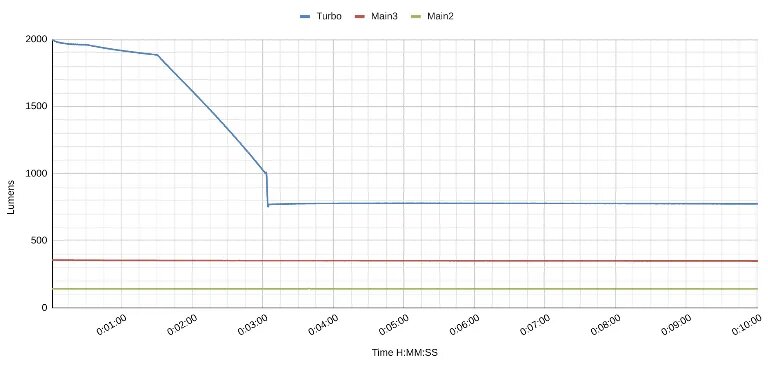
Turbo starts off at a hair under 2000 lumens and doesn’t drop much in the first minute. At 1 minute it’s at 1915 lumens, dropping to 1617 at 2 minutes. At 3 minutes it’s down to 774 lumens, which it maintains for almost an hour and a half. It then stepped down to the lower levels and lasted another hour around 50 lumens.
Main3 (high) starts off at 355 lumens and doesn’t falter for 4 hours. At the 4 hour mark stepped down and lasted another hour.
Main2 (medium) holds steady at 141 lumens for almost 11 hours! It then follows the other modes by stepping down for 1 more hour.
Throw numbers:
Throw was measured indoors at 5m with a UNI-T UT383S lux meter. My measurements were significantly higher than the specs, which was a surprise given that lumen numbers were almost dead on.
| Mode | Specs | Candela measured | Meters | Yards |
|---|---|---|---|---|
| Main1 | – | 790 | 56 | 61 |
| Main2 | – | 2,183 | 93 | 102 |
| Main3 | – | 5,053 | 142 | 155 |
| Turbo | 284m / 20,164 cd | 29,069 cd | 341 | 373 |
Comments